Beaumont House Design The Cabin Story
Part Three - Breaking Ground and Putting it Back Together
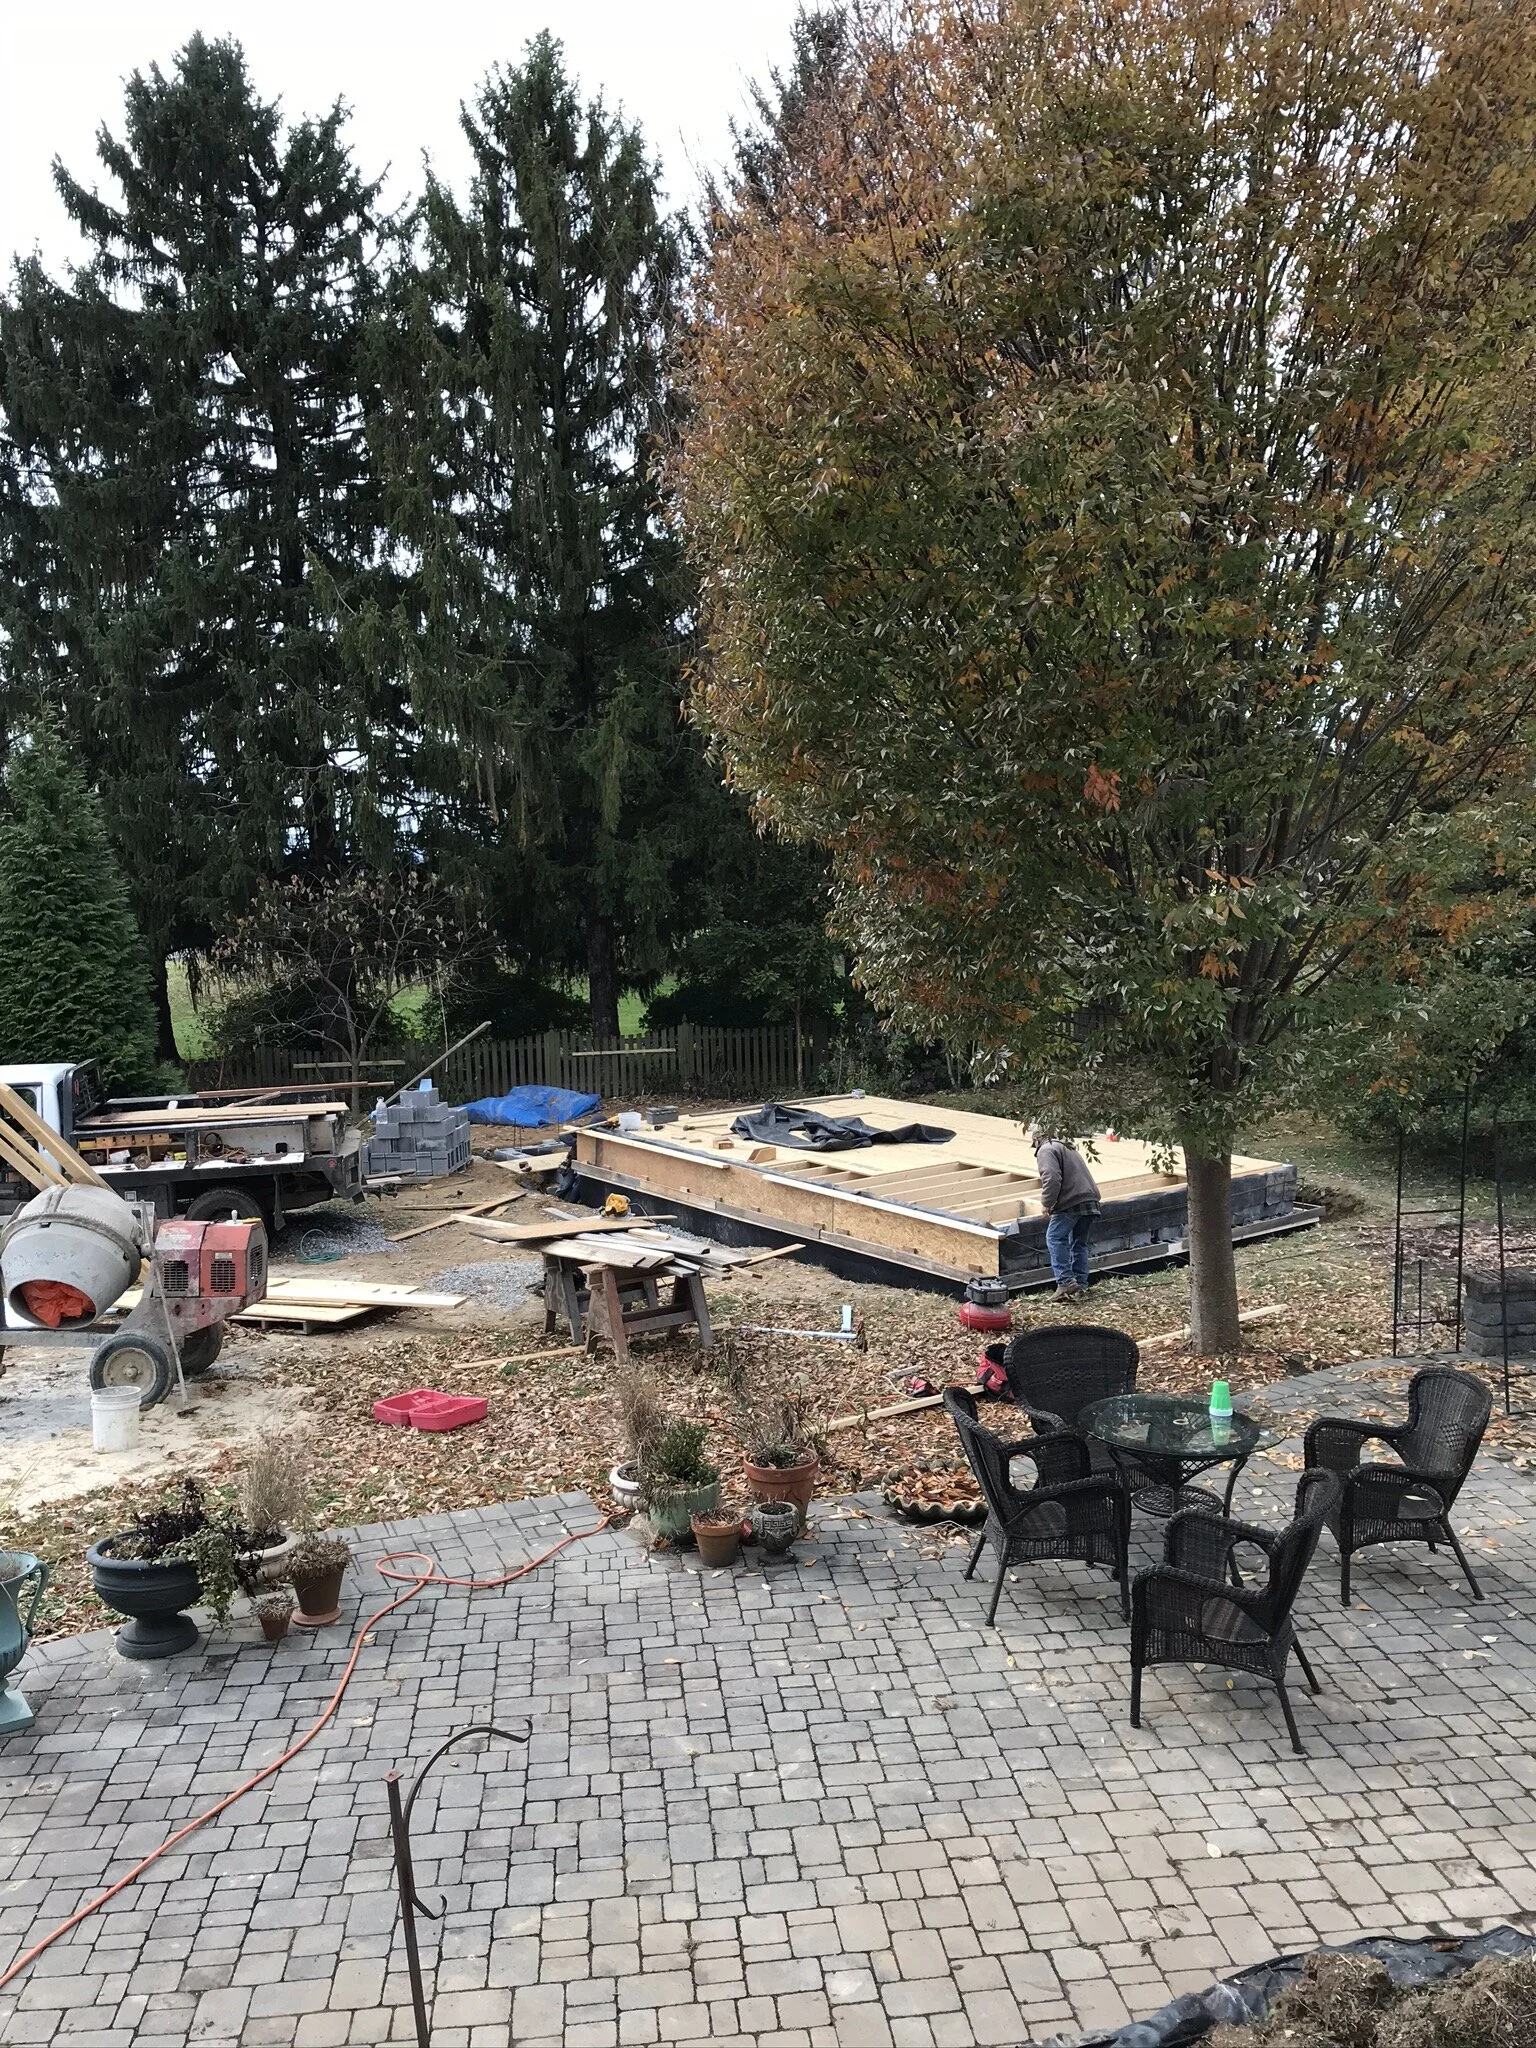
In late summer/early fall 2018, we were ready to begin digging the foundation for the cabin. Working with our architect and builder, we spent one morning orienting the cabin and staking out its location. Our goal was to place the cabin so that it looked like it had been on the property long before our house was built. The cabin is approximately 14’ x 24’ with 7’ wide screen porch. It had to nestle into a tight space to make the minimum setbacks from the fence so placing it at an angle gave us the space we needed. An added benefit is that the cabin now sits on an almost perfect east/west axis, catching sunrise and sunset as well as every breeze. However, once we had the final location, we realized there were two mature trees that needed to be either cut down or moved to give enough space for equipment to move around. Our landscape architect put us in touch with a local tree mover and with one day to spare, they arrived to relocate a bay laurel and pink dogwood.
Coordinating all the equipment and construction traffic in a residential neighborhood called for a creative solution. Luckily our farm neighbor generously allowed us to access our yard through their field. All that was left to do was remove a few fence panels and get started. Our house sits on the edge of town and the project was very visible. On a few occasions people would stop and wander in to the yard, wondering what was going on.
The day after the trees were moved, the backhoe arrived to dig the foundation. The cabin has a fully insulated crawl space and sits on a parged concrete foundation. We knew that a stone foundation was not in the budget. However, we used an early 20th century concrete technique for the foundation where aggregate is mixed in the the concrete, cures for about 18 hours and then is gently pressure washed to reveal the embedded stone. A run of pressure treated wood with a copper sleeve is then laid on top, forming a moisture barrier and decorative edge. Once that is in place, the logs can then be set.
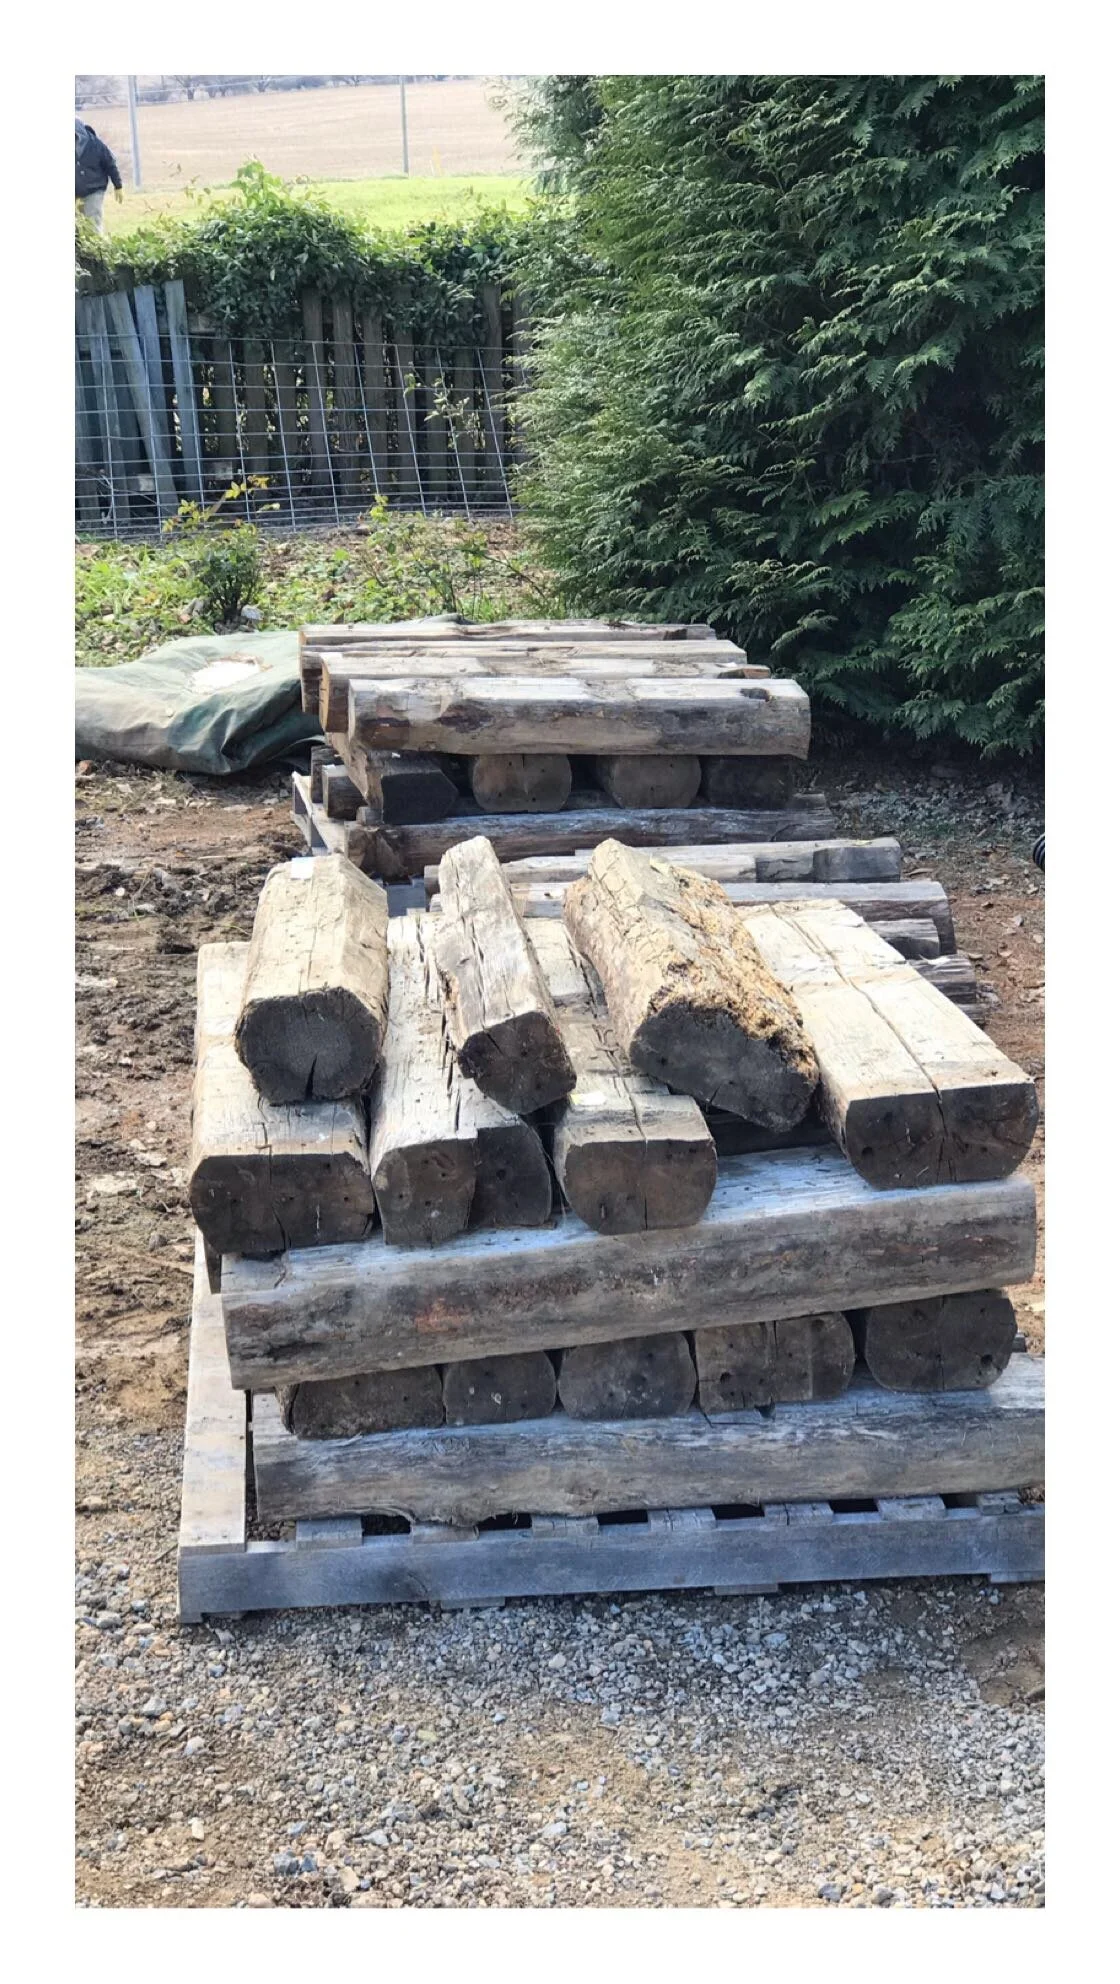
As I mentioned in the previous post, each log was carefully marked with a letter and number, recorded as a map which became the guide for reassembly. Managing the logs before they could be set involved a few steps. An initial review was done before they were moved on site to have a better idea of which logs went where. They were then shuttled over in three loads to the field and carefully laid out. We knew that some logs would need to be replaced. The benefit of having a contractor who only works on historic structures is that he was able to source replacement logs in the area. The cabin has a mix of logs - walnut, chestnut, pine, oak and ash.
As the logs were sorted, the unusable logs were saved. Some of those logs were milled into the new railings and a charming three legged bench for the second floor loft space. Each log was carefully fit and hewed as needed using hand tools that wouldn’t have been out of place 150 years ago. .
On day one we removed two sections of the fence for construction access. Every night a wire fence panel was pulled into place to cover the opening. The foundation was dug and there is about 10’ of clearance between the cabin and the back fence line (all within the local building code). Two mature trees were moved the day before construction started.
This is the pink dogwood being gently placed in her new home. The equipment to move the trees was huge (a 60 inch spade truck) and the crew maneuvered through a mine field of other trees, patio, retaining wall and the house with ease.
Here is the pink dogwood in her new home, framing the cabin. The bay laurel was moved next to the house (on the far left). The two storey cabin had a fireplace on each level. The second floor fireplace was covered over as we were only building back a 2nd floor loft. The cabin does not have a working fireplace but was built so that if we wanted to add it back, it can be done easily.
This is the view from the house to the cabin. The row of pine trees along the fence row belong to our neighbors. The cabin just fit in the space and is surrounded by mature trees and looks like it has been there for many, many years.
Before the logs were transported, they were measured and checked against the log map. This inventory was the basis for what logs needed to replaced..
This is the step to reveal the aggregate for the foundation. The concrete is poured into the forms and sets up overnight. It has to be wet enough to spray with water so the stone will show. It takes a few passes to get the look right.
Here is the beautiful stone showing through the concrete. We did a few test panels to figure out the mix and proportion of stone to the concrete. This is a mix of pea gravel and crushed local stone, reflecting the colors in the landscape.
Each log was carefully notched, ensuring a snug fit. Some of the logs still had bark on them.
The logs rode the last mile to the house in three trips, carefully stacked and tagged. The logs that needed to be replaced were stored in the field (in case someone decided to boost some logs). The other logs were stored in the yard.
By December of 2018 the cabin had been stood up! On that Christmas we celebrated my niece’s birthday with a champagne toast, the first of many celebrations to come.
Next…Interiors and almost finished


